Building the Wind Breaks
Over the last few years I have been trying to find a good solution to providing the hives protection from the wind. My first year I successfully used hay bales around 2 sides of one of my hives. Last year I also used hay bales around the Willow Hive, but not with good results. Mice love hay bales and they used them as an easy way to get into the hive. Once winter was over the farm staff removed them from around the hive, but didn’t really have a good use for them.
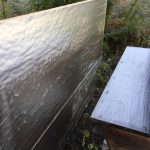
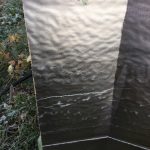
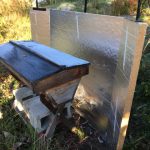
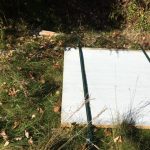
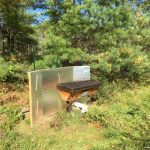
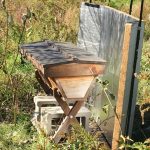
This year I needed a different solution. After some research, I came across this video from Vino Farm Solar Reflective Wall for Bees!. I decided to try something like this, but on a smaller scale. My hives are not in the same area so they will only need one 4’ x 8’ board behind each of them. The idea was to create a barrier around the north side of the hive with some added protection on the east and west sides by scoring the board and bending the two outer sides in a little bit.
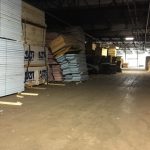
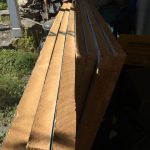
On October 18th I rented a big pick up truck and drove out to a warehouse to pick up 4’x8’ reflective foam insulation boards. This company sells used building materials that are still in good condition. When I arrived there wasn’t anyone there and it was a bit of a process to get the boards, but I finally did. After picking up the boards, I drove them to the farm and dropped them off there. The wind breaks would be put up the next day.
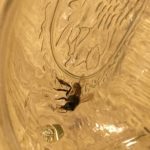
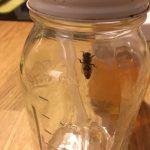
Late in the afternoon on the 18th, we were sitting in our kitchen and noticed someone flying around the light. It was bigger than a fly and didn’t look like a wasp. We had a honeybee in our kitchen! It was too cold to put her outside, so I carefully caught her and put her in a jar with a lid that has holes in it (a feeder jar). I put some honey in the jar for her to have some dinner. She would have to stay the night.
In the morning on the 19th, I checked in on the bee and gave her a little more honey. Then it was time to head out to the farm to build the wind breaks. It was a very cold morning, so the bees would be huddled up inside their hives. This was a good thing because I didn’t want the bees flying around while putting up the wind breaks.
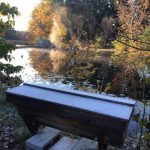
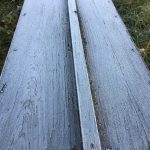
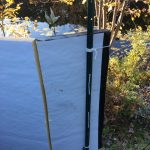
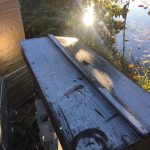
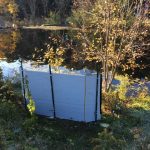
At the Willow Hive, the lid had frost covering it. The sun had just started to come up and would melt off the frost soon. Today I was working with the other beekeeper at the farm, Don, to build the wind breaks. We started with putting the metal fence stakes in the ground. Then we took the boards and scored them at the outer two foot line. This meant that it had three sections with the center section being 4’ wide and the outer sections are each 2’ wide.
We drilled holes into the boards where we would be attaching them to the fence posts. When they were ready to be attached we used a thin cotton rope to tie them to the posts. Don then used his scouting skills to knot the ropes in a way that would secure the boards to the posts. There needed to be a little bit of give in the ropes so that they would not just rip through the boards in the wind. We tested this by applying some force to the boards to replicate wind.
Then we went over to Orchard Hive and recreated the same thing. The ground near the Orchard Hive was a little more of a challenge to get the fence posts into, but we were able to with some effort. It was starting to warm up and a few bees were venturing out to see what all of the noise and activity around their hive was. They did not seem to be bothered by our presence.
The wind breaks were up just in time for the cold weather and wind to blow in. Over the next several days it will be cold and very windy. So we will see if this design holds up to Massachusetts winter winds. Over the course of the winter I will visit the farm and check in on the wind breaks and see how they are holding up. If they need any attention or repair I will take care of it. I want the bees to be protected from the winds because it is one of the more difficult factors of winter.
